Once documents and signers have been added to a package, you can start adding Signature Boxes and fields to each document. Signature Boxes are the places where a signer must sign, while fields contain associated information about the signer. Multiple Signature Boxes can be placed in a given document for a given signer.
The rest of this section describes:
- Adding Signature Boxes & Fields
- Field Types
- Electronic Disclosures & Signatures Consent
- Sending a Package
Adding Signature Boxes & Fields
To add Signature Boxes and fields to a package's documents:
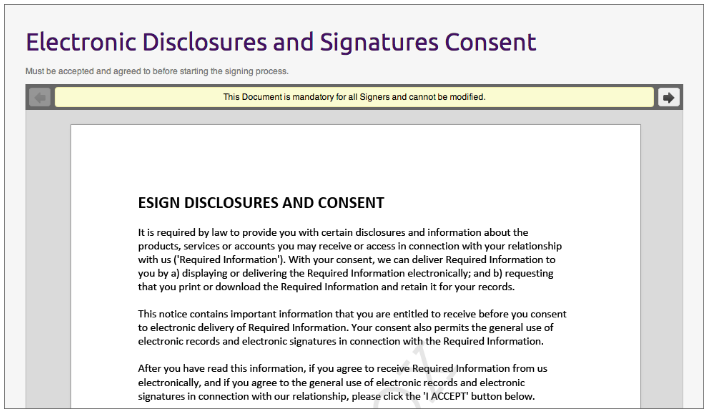
- Click Prepare to Send. The Electronic Disclosures & Signatures Consent page appears.
- Click the right arrow to view the package's first document.
- Using the drop-down arrow in the Signers list, select one of this document's signers.
- Click Add Signature.
- Drag the Signature Box to where you want it to appear in the document.
- Optional: If you want to change the Signature Box type or add a field, click the gear icon. This will open the Signature Box menu.
- Repeat Steps 3 to 6 for each Signature Box you want in the document.
- If the package has multiple documents: (a) click the right arrow to view the next document; (b) repeat Steps 3 to 7. Repeat these operations for each document in the package.
The next section describes the types of fields that can be added.
Field Types
Any of the following types of field can be added to a Signature Box:
- Signing Date: This field is automatically filled with the date and time when the signature is applied.
- Signer Name: This field is automatically filled with the signer's first and last names. Those names were provided when the signer was added.
- Signer Title: Displays the signer's title. That title was provided when the signer was added to the package. If a title was not provided, this field remains blank, and is not visible on the document.
- Signer Company: Displays the signer's company. The company's name was provided when the signer was added to the package. If that name was not provided, this field remains blank, and is not visible on the document.
- Text Field: Provides a box where the signer can enter information. This field is useful if you want the signer to be able to provide additional information at the time of signing.
- Checkbox: An option that the signer can clcik to display a check mark (clicking again removes that mark). A checkbox is useful for indicating that the signer has completed an action. For example, a document may contain the question Have you applied for a mortgage with another financial institution? followed by the answersYes and No. You can place one box besideYes, and another box beside No.
- Dropdown List: This drop-down list specifies pre-defined options, from which the signer can choose one. Once an option is selected, only that value is displayed. This reduces the amount of screen space occupied by this GUI element.
- Radio Button: Radio buttons also enable the selection of one option from many options. Multiple buttons can be grouped together by associating them with a common group name. If the Required field is enabled, at least one button in the group must be selected. If one button in the group is identified as the default, the corresponding option will be pre-selected.
- Text Area: This type is similar to Text Field because it provides an area where signers can enter free-form text. It differs from Text Field in that: (1) it can hold more text — up to 4000 characters; (2) it provides automatic wrap-around.
Electronic Disclosures & Signatures Consent
All OneSpan Sign packages automatically include an Electronic Disclosures and Signatures Consent agreement. All signers must accept the terms of this agreement before they are permitted to access the documents to be signed.
If you do not want to include this consent agreement in your packages, please contact our Support Team.
Sending a Package
Once you have prepared the documents in a package, you are ready to send the package to its recipients.
To send a package to its recipients:
- In the Designer, click Send.
- Click OK to confirm that you want to distribute the package for signing.
Once documents and signers have been added to a package, you can start adding Signature Boxes and fields to each document. Signature Boxes are the places where a signer must sign, while fields contain associated information about the signer. Multiple Signature Boxes can be placed in a given document for a given signer.
The rest of this section describes:
- Adding Signature Boxes & Fields
- Field Types
- Electronic Disclosures & Signatures Consent
- Sending a Package
Adding Signature Boxes & Fields
To add Signature Boxes and fields to a package's documents:
- Click Prepare to Send. The Electronic Disclosures & Signatures Consent page appears.
- Click the right arrow to view the package's first document.
- Using the drop-down arrow in the Signers list, select one of this document's signers.
- Click Add Signature.
- Drag the Signature Box to where you want it to appear in the document.
- Optional: If you want to change the Signature Box type or add a field, click the gear icon. This will open the Signature Box menu.
- Repeat Steps 3 to 6 for each Signature Box you want in the document.
- If the package has multiple documents: (a) click the right arrow to view the next document; (b) repeat Steps 3 to 7. Repeat these operations for each document in the package.
The next section describes the types of fields that can be added.
Field Types
Any of the following types of field can be added to a Signature Box:
- Signing Date: This field is automatically filled with the date and time when the signature is applied.
- Signer Name: This field is automatically filled with the signer's first and last names. Those names were provided when the signer was added.
- Signer Title: Displays the signer's title. That title was provided when the signer was added to the package. If a title was not provided, this field remains blank, and is not visible on the document.
- Signer Company: Displays the signer's company. The company's name was provided when the signer was added to the package. If that name was not provided, this field remains blank, and is not visible on the document.
- Text Field: Provides a box where the signer can enter information. This field is useful if you want the signer to be able to provide additional information at the time of signing.
- Checkbox: An option that the signer can clcik to display a check mark (clicking again removes that mark). A checkbox is useful for indicating that the signer has completed an action. For example, a document may contain the question Have you applied for a mortgage with another financial institution? followed by the answersYes and No. You can place one box besideYes, and another box beside No.
- Dropdown List: This drop-down list specifies pre-defined options, from which the signer can choose one. Once an option is selected, only that value is displayed. This reduces the amount of screen space occupied by this GUI element.
- Radio Button: Radio buttons also enable the selection of one option from many options. Multiple buttons can be grouped together by associating them with a common group name. If the Required field is enabled, at least one button in the group must be selected. If one button in the group is identified as the default, the corresponding option will be pre-selected.
- Text Area: This type is similar to Text Field because it provides an area where signers can enter free-form text. It differs from Text Field in that: (1) it can hold more text — up to 4000 characters; (2) it provides automatic wrap-around.
Electronic Disclosures & Signatures Consent
All OneSpan Sign packages automatically include an Electronic Disclosures and Signatures Consent agreement. All signers must accept the terms of this agreement before they are permitted to access the documents to be signed.
If you do not want to include this consent agreement in your packages, please contact our Support Team.
Sending a Package
Once you have prepared the documents in a package, you are ready to send the package to its recipients.
To send a package to its recipients:
- In the Designer, click Send.
- Click OK to confirm that you want to distribute the package for signing.
Preparing Documents
After you have added documents and signers to a package, you can "prepare" the package by adding Signature Boxes and fields to its documents.
Signature Boxes are the places in a document where signers must apply their signatures. Fields contain additional information about signers and their signatures.
Prerequisites
- You must be the user who created the package.
Action
To prepare and send a package:
- On the ribbon above displayed information about the package, click Prepare. The Electronic Disclosures and Signatures Consent agreement appears.
- Click the right-facing arrow. The package's first document appears.
- From the drop-down list of signers to the left of the Add Signature button, select a signer for this document.
- Click Add Signature. A Signature Box appears.
- Drag the Signature Box to where you want it to appear in the document.
- If you want to change the Signature Box's type, hover over the box and click the gear icon that appears. Then click Type, and follow the prompts. The following alternative types may appear:
- Click-to-Sign
- Click-to-Initial
- Capture signature
- Mobile signature
- If you want to add a field, hover over the Signature Boz and click the gear icon that appears. Then click Add Field, and follow the prompts. You can add any of the following fields:
- Signing Date: This field is automatically filled with the date and time when the signature is applied.
- Signer Name: This field is automatically filled with the signer's first and last names. Those names were provided when the signer was added to the package.
- Signer Title: The signer's title. If that title was not provided when the signer was added to the package, this field remains blank, and is not visible on the document.
- Signer Company: The signer's company. If the company name was not provided when the signer was added to the package, this field remains blank, and is not visible on the document.
- Text Field: A box in which the signer can enter additional information at the time of signing
- Checkbox: A box that the signer can select or clear to convey information about an action. For example, a document may ask Have you applied for a mortgage with another financial institution?, with one box beside the word Yes, and another box beside the word No.
- List: A drop-down list of predefined values from which the signer may choose
- Radio: Multiple radio buttons constitute a list of predefined values from which the signer may choose.
- Text Area: This is similar to a Text Field, except that: (1) it can hold more text — up to 4000 characters; (2) it provides automatic wrap-around.
- Repeat Steps 3-7 for each Signature Box and field you want in this document.
For a specific signer in a given document, you can add: (1) multiple Signature Boxes; (2) multiple fields for each Signature Box.
- If the package contains multiple documents, click the right-facing arrow to proceed to the next document.
- Repeat the above steps until all desired Signature Boxes and fields have been added to the documents.
- Click Send.
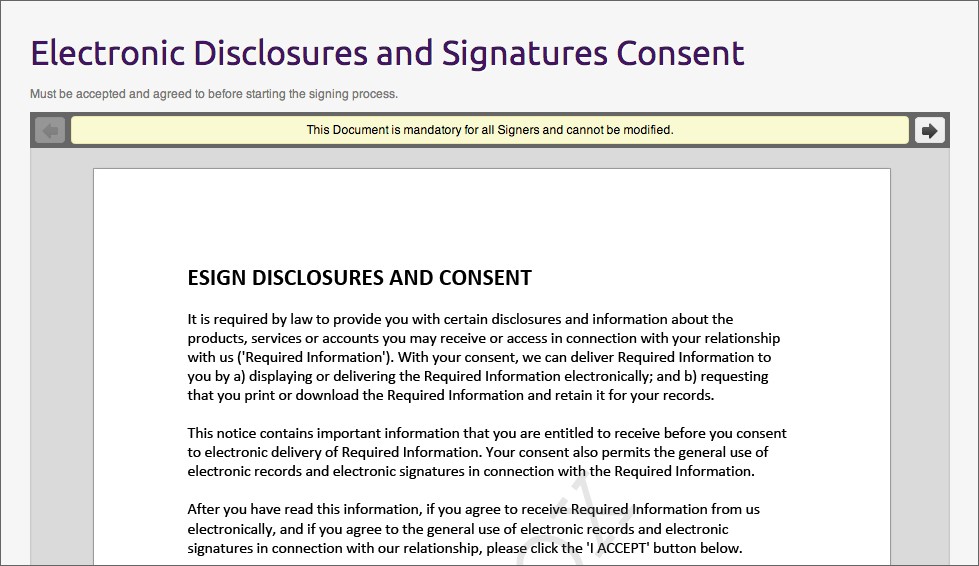
By default,OneSpan Sign includes the Electronic Disclosures and Signatures Consent agreement in all packages. All signers and reviewers must agree to its terms before they can view a package's documents. If you don't want that agreement in your packages, please contact our Support Team.