Installing the Solution
Not all OneSpan Sign features are supported by an integration with this Connector. However, most if not all, features supported by this integration can be found in this Connector's documentation. For questions about a specific feature, please ask in our Forums. If a feature you're looking for is not supported, please let your sales contact know so that an official request can be made.
To install OneSpan Sign for Microsoft SharePoint 2013 for the first time:
- Create the required OneSpan Sign Web App by doing the following:
- Go to the Central Administration site.
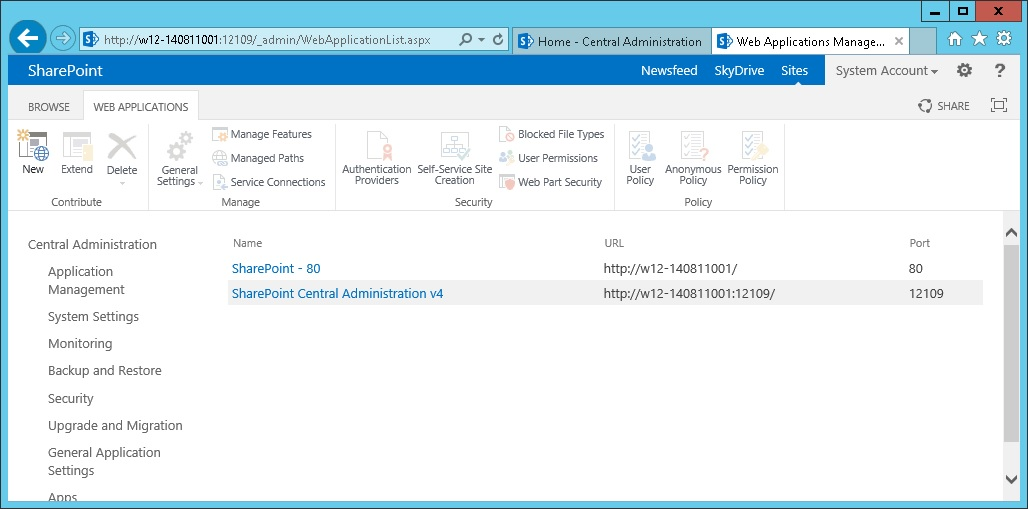
- Select Manage Web Applications: (Application Management > Web applications),
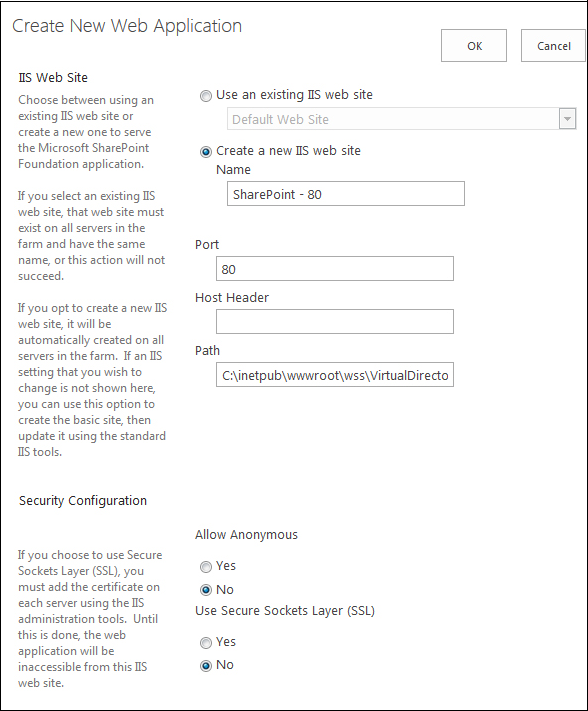
- Select New.
- Create a new IIS website by specifying the following fields (then click OK):
- Note the Web application URL and Site Collection URL where this solution package will be installed.
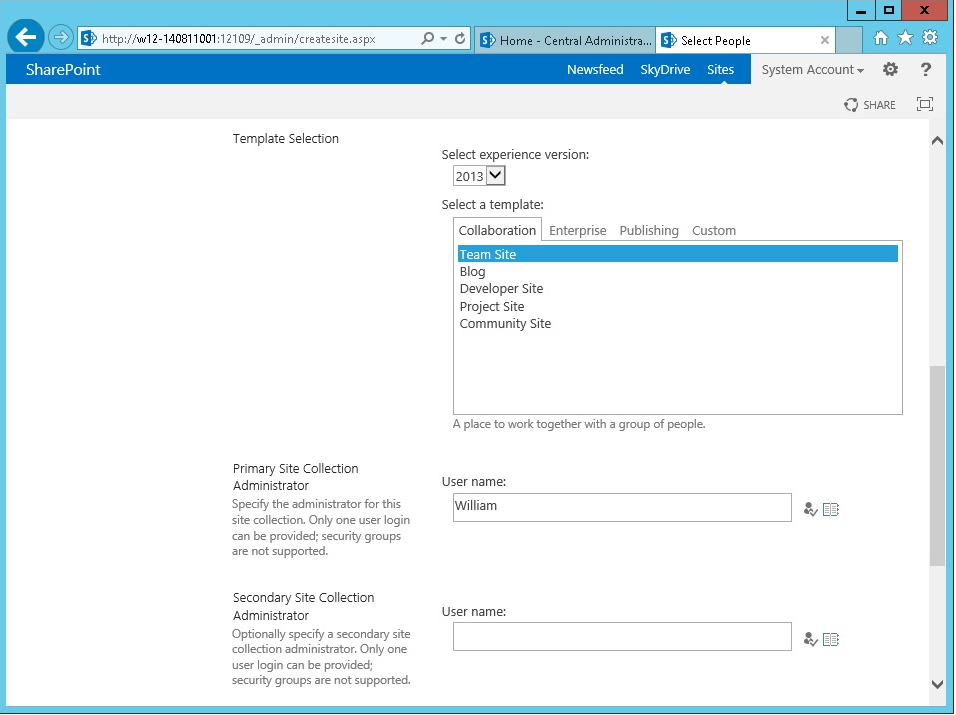
- Create the required Site Collection by clicking Application Management > Site Collections. The following pages appear.
- Note the Site Collection you have just created.
- Add and install WSP as follows:
- Ensure that the WSP and the PowerShell script are in the same folder.
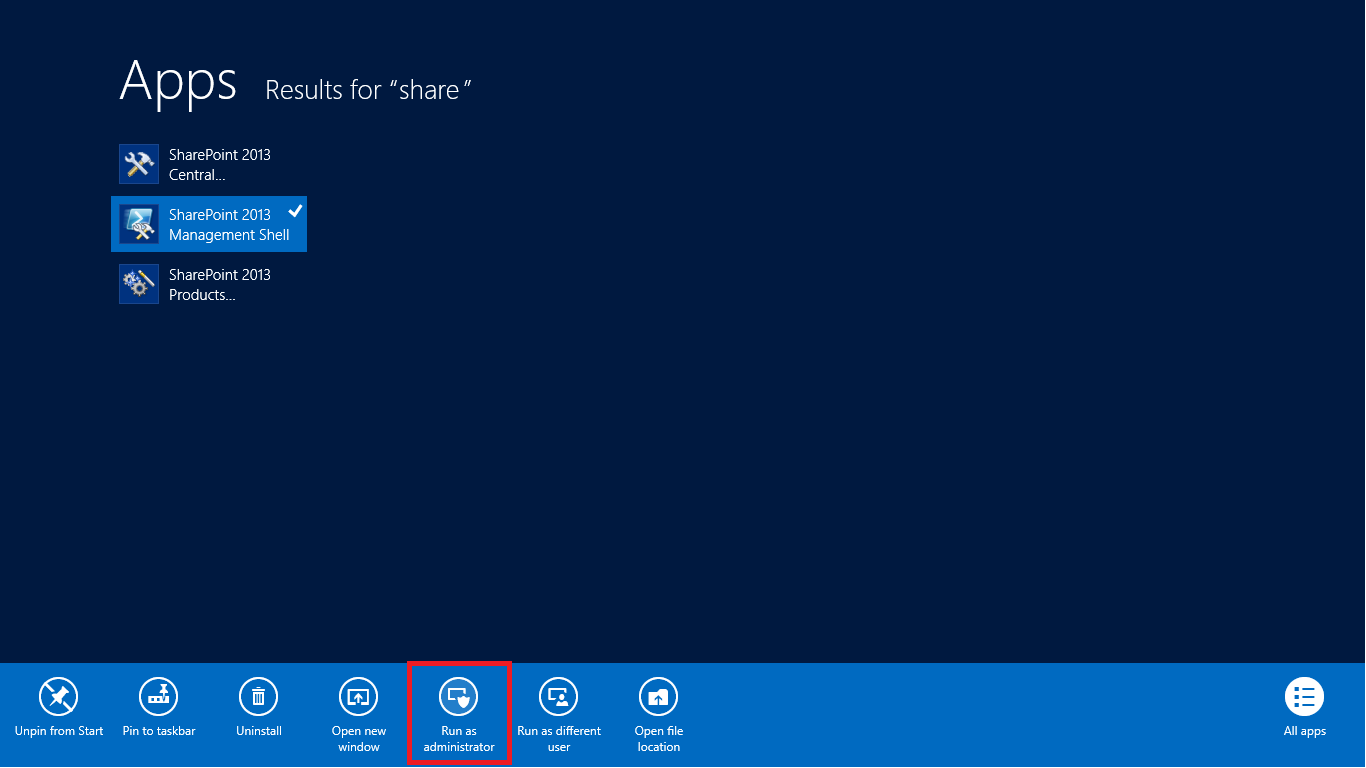
- Open SharePoint PowerShell in Console mode and in Administrator mode.
- Move to the directory where WSP resides.
- Execute the
Deploy.ps1script by typing the following line: - Enter the Web Application URL where you want to deploy the solution.

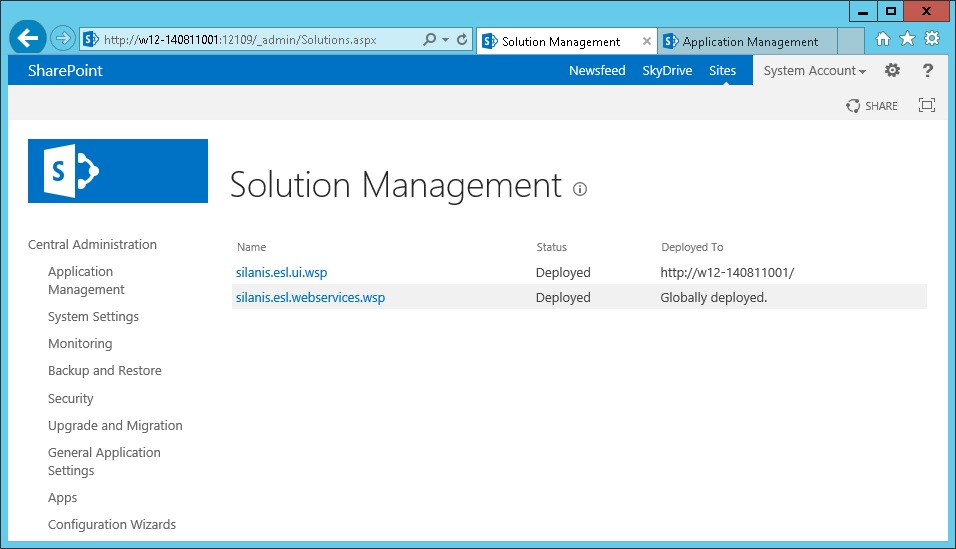
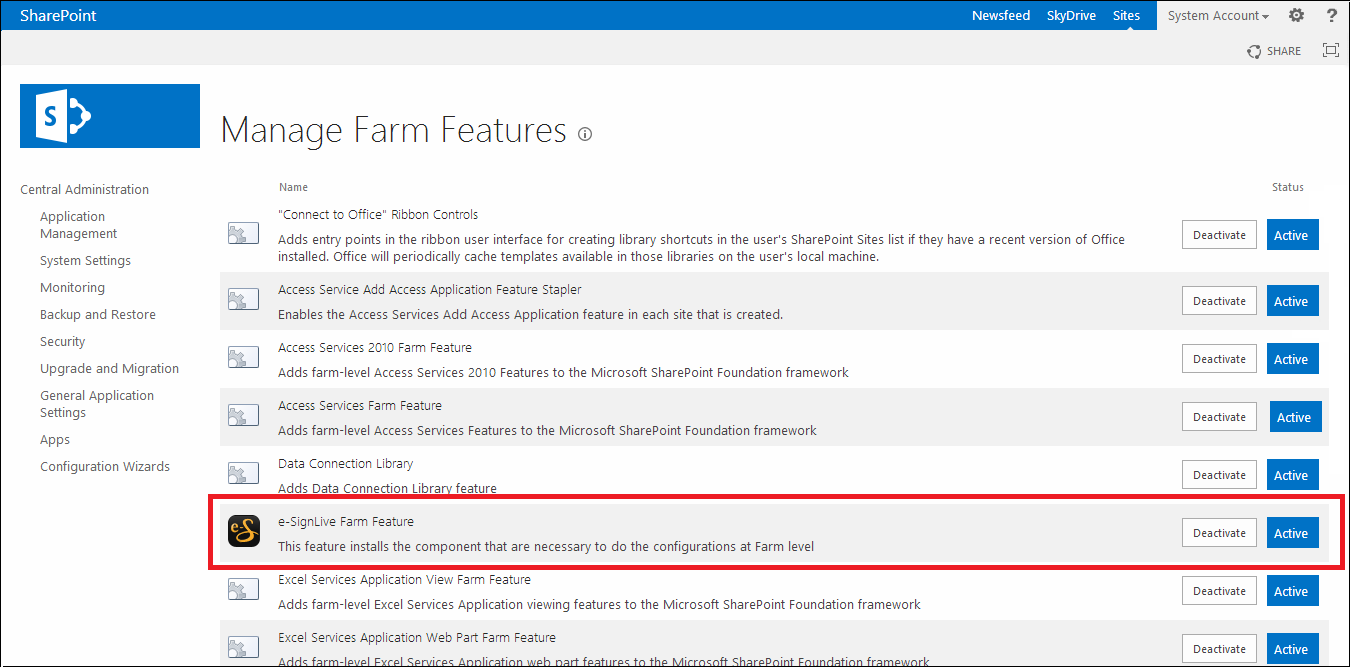
- The deployment script should have installed two solution packages in the SharePoint Farm.
.\deploy.ps1
If you cannot execute the deployment script, perform the steps in the link Cannot Execute the Deployment Script.
- Go to General Application Settings in Central Admin, and configure the settings in Steps 7-11.
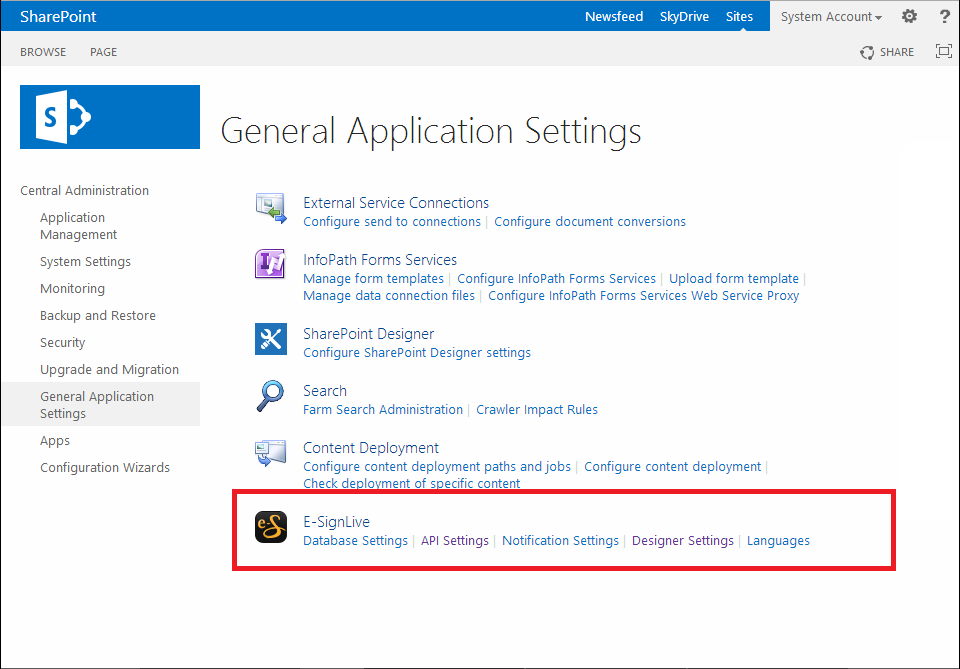
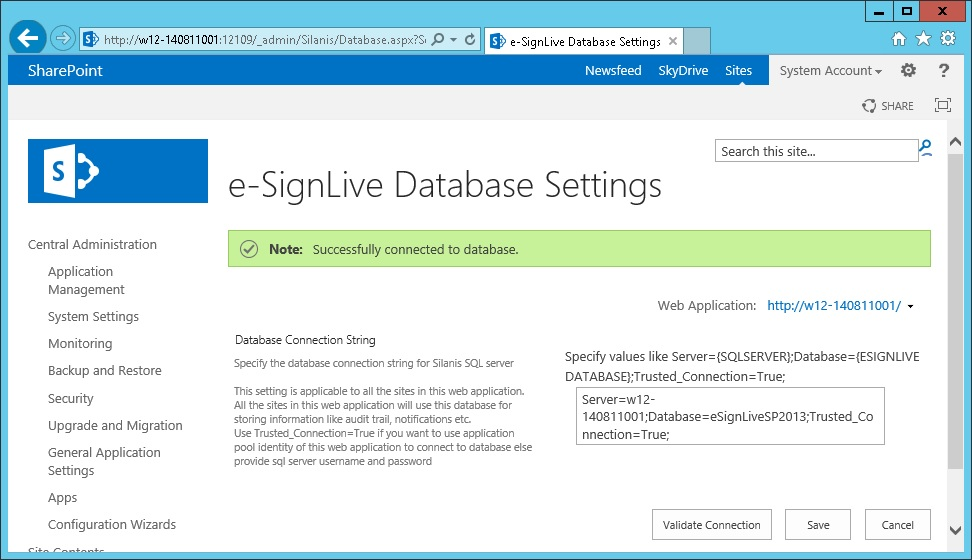
- Click Database Settings under OneSpan Sign, select the correct web application, and complete the details in the Database Connection string as follows:
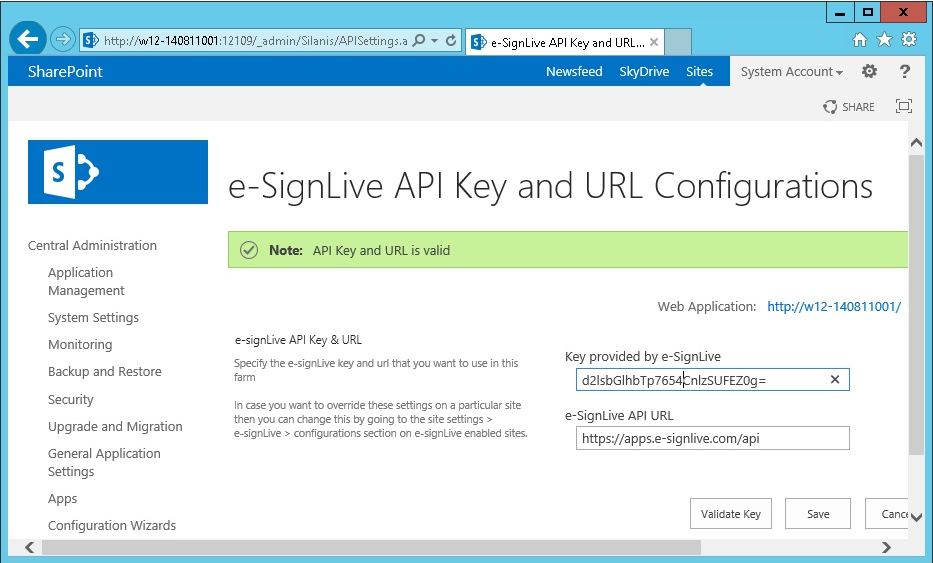
- Click API Settings, and select the correct web application. Then enter: (a) your unique API key; (b) the OneSpan Sign API URL below that applies to you:
Your configuration settings depend on the URL you use to log in. If you are uncertain about which URL to use, please refer to the email you received when you signed up, and follow the link Log into your account. You will be directed to a login page, and your login URL will appear in your browser's address bar.
- For new clients: (1) who have signed up for an OneSpan Sign Production account; (2) who are deploying to a US Production Environment; (3) whose login URL is https://apps.esignlive.com/login:
- API URL:
https://apps.esignlive.com/api
- For new clients: (1) who have signed up for an OneSpan Sign Production account; (2) who are deploying to a US Production Environment; (3) whose login URL is https://apps.esignlive.com/login:
- For new clients: (1) who have signed up for an OneSpan Sign Sandbox account; (2) who are deploying to a US Sandbox Environment; (3) whose login URL is https://sandbox.esignlive.com/login:
- API URL:
https://sandbox.esignlive.com/api
- For existing clients: (1) who signed up for their OneSpan Sign Production account; (2) who are deploying to a US Production Environment; (3) whose login URL is https://apps.esignlive.com/login:
- API URL:
https://apps.eSignLive.com/api
- For existing clients: (1) who signed up for their OneSpan Sign Sandbox account; (2) who are deploying to a US Sandbox Environment; (3) whose login URL is https://sandbox.OneSpan Sign.com/login:
- API URL:
https://sandbox.eSignLive.com/api
- For Canadian customers: (1) who are deploying to a Canadian Production Environment; (2) whose login URL is https://apps.e-SignLive.ca/login:

Server={SERVER_NAME}; Database={DATABASE_NAME}; Trusted_Connection=True;
Replace {SERVER_NAME} with the name of the server, and replace {DATABASE_NAME} with the name of the database created in Installing the Required Database.
- API URL:
https://apps.e-SignLive.ca/api
- API URL:
https://sandbox.e-SignLive.ca/api
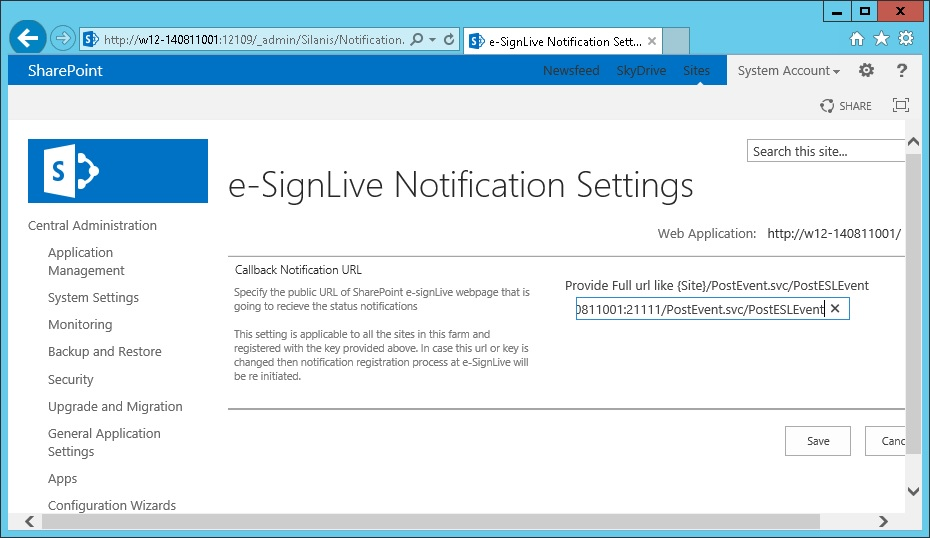
{SITE}/PostEvent.svc/PostESLEvent
Replace {SITE} with the URL specified in the last step of the procedure Installing the Push Notification Service.
- For new clients: (1) who have signed up for an OneSpan Sign Production account; (2) who are deploying to a US Production Environment; (3) whose login URL is https://apps.esignlive.com/login:
- Designer URL:
https://apps.esignlive.com/auth?senderAuthenticationToken={0}&target=https://apps.esignlive.com/designer/{1}?profile=SharePoint2013 - Signing URL:
https://apps.esignlive.com/auth?signerAuthenticationToken={0}&target=https://apps.esignlive.com/packages/{1}/sign- Designer URL:
https://sandbox.eSignLive.com/auth?senderAuthenticationToken={0}&target=https://sandbox.eSignLive.com/designer/{1}?profile=SharePoint2013https://sandbox.eSignLive.com/auth?signerAuthenticationToken={0}&target=https://sandbox.eSignLive.com/packages/{1}/sign- Designer URL:
https://apps.eSignLive.com/auth?senderAuthenticationToken={0}&target=https://apps.eSignLive.com/designer/{1}?profile=SharePoint2013https://apps.eSignLive.com/auth?signerAuthenticationToken={0}&target=https://apps.eSignLive.com/packages/{1}/sign- Designer URL:
https://sandbox.eSignLive.com/auth?senderAuthenticationToken={0}&target=https://sandbox.eSignLive.com/designer/{1}?profile=SharePoint2013https://sandbox.eSignLive.com/auth?signerAuthenticationToken={0}&target=https://sandbox.eSignLive.com/packages/{1}/sign- Designer URL:
https://apps.e-SignLive.ca/auth?senderAuthenticationToken={0}&target=https://apps.e-SignLive.ca/designer/{1}?profile=SharePoint2013https://apps.e-SignLive.ca/auth?signerAuthenticationToken={0}&target=https://apps.e-SignLive.ca/packages/{1}/sign- Designer URL:
https://sandbox.e-SignLive.ca/auth?senderAuthenticationToken={0}&target=https://sandbox.e-SignLive.ca/designer/{1}?profile=SharePoint2013https://sandbox.e-SignLive.ca/auth?signerAuthenticationToken={0}&target=https://sandbox.e-SignLive.ca/packages/{1}/sign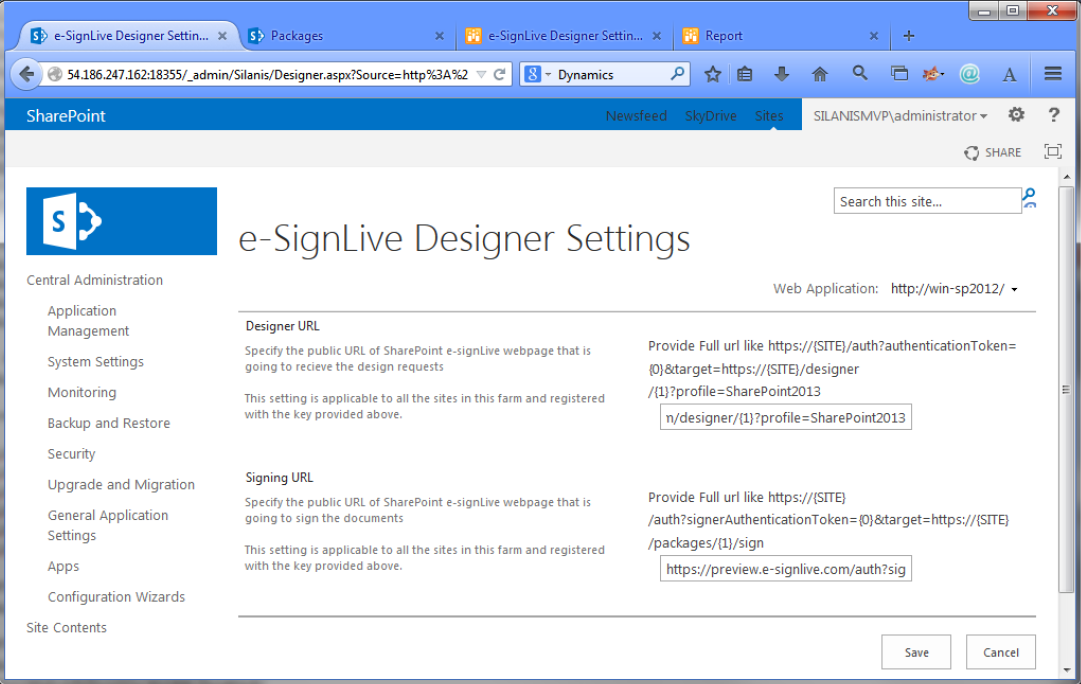
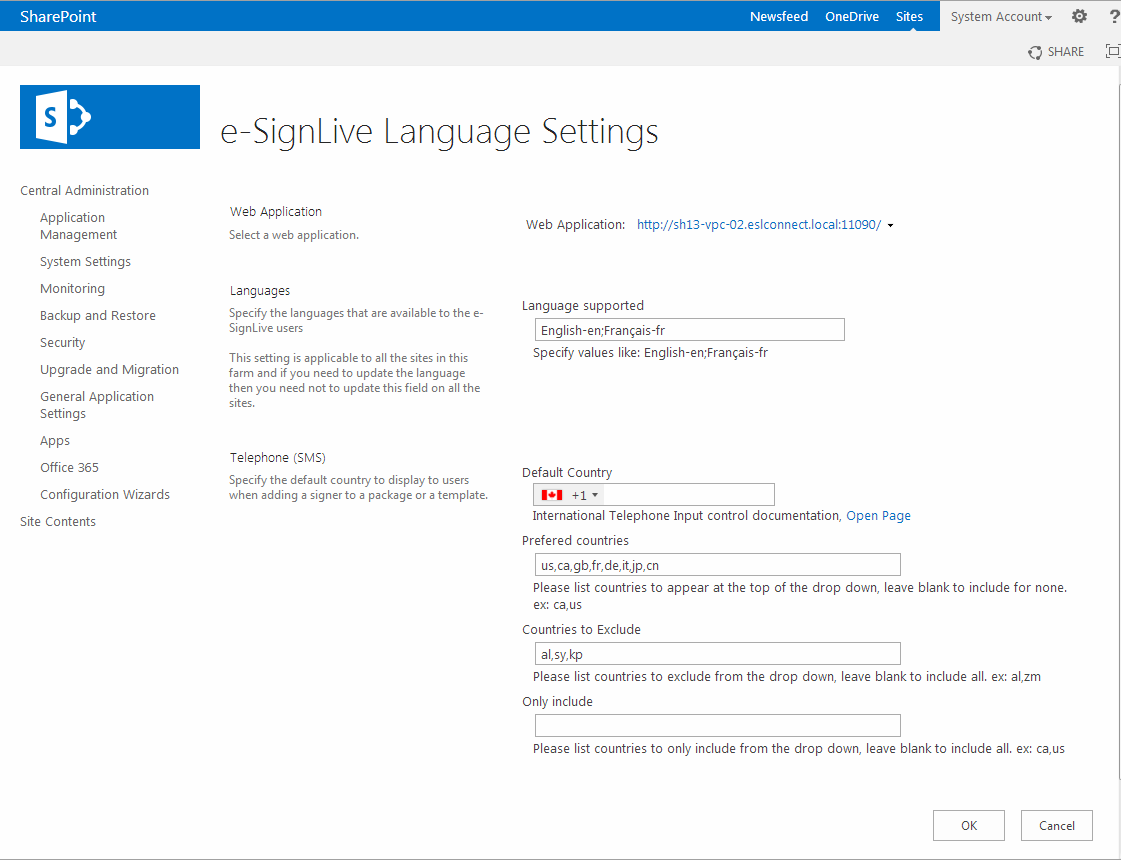
English-en; Français-fr
Also configure the following country parameters:
- In the Default Country field, specify the default country's international telephone code.
- In the Preferred Countries field, list the countries that you want to appear before others in the drop-down menu of the SMS Authentication Method.
- In the Countries to Exclude field, list the countries that you want to exclude from that drop-down menu.
- In the Only Include field, list the only countries that you want to appear in that drop-down menu.
For information about international country codes, see: https://en.wikipedia.org/wiki/ISO_3166-1_alpha-2.
If changes are ever made to the preceding settings in this procedure, the related websites and application pools in IIS must be restarted.
- Navigate to Site Actions > Site Settings > Site Collection Features.
- If the OneSpan Sign Site Collection Feature is not activated, click Activate.
- If it has been activated, click Deactivate, and then click Activate.

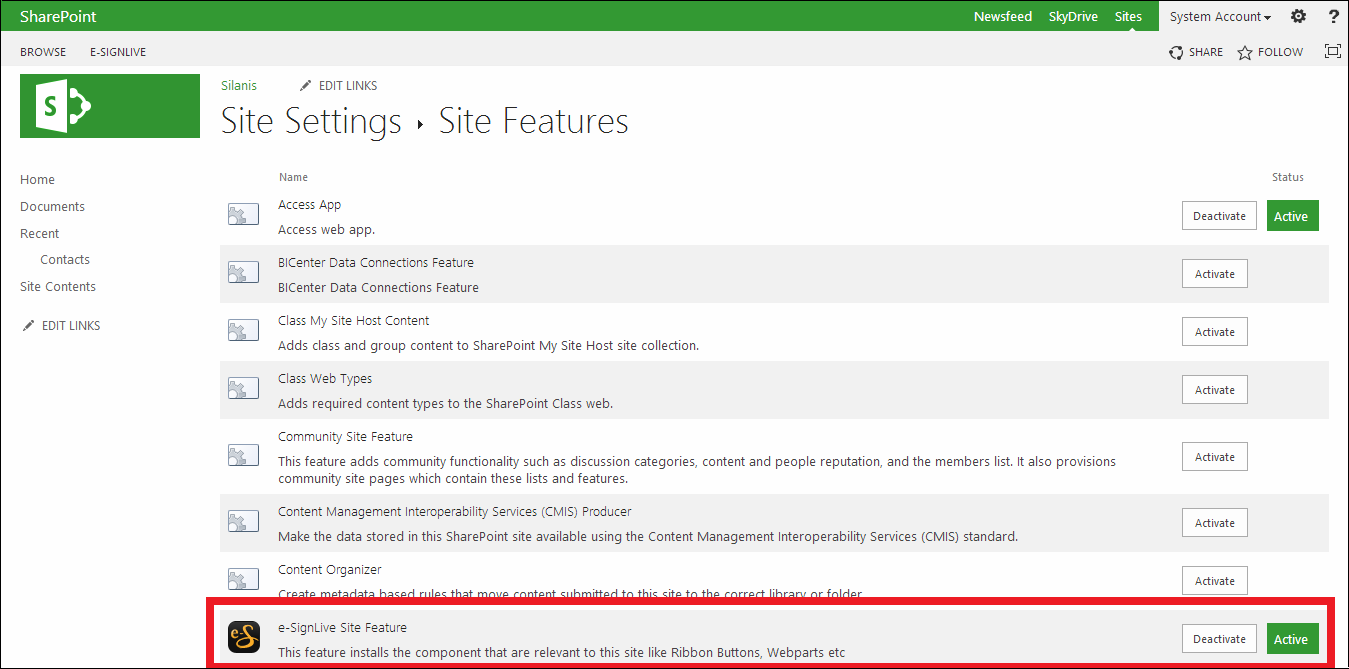
- Navigate to Site Actions > Site Settings > Site Features.
- If the OneSpan Sign Site Feature is not activated, click Activate.
- If it has been activated, click Deactivate, and then click Activate.
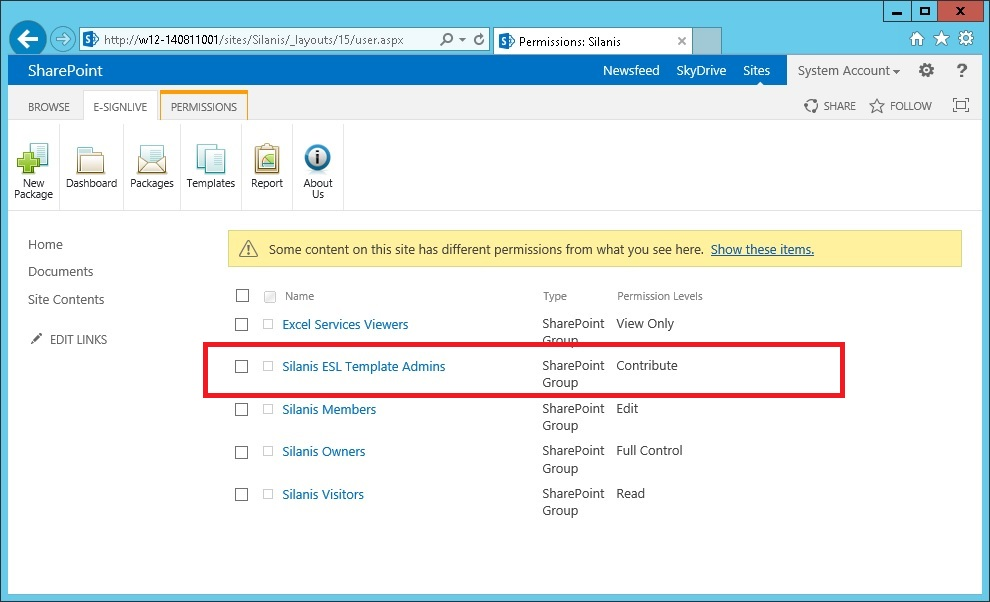
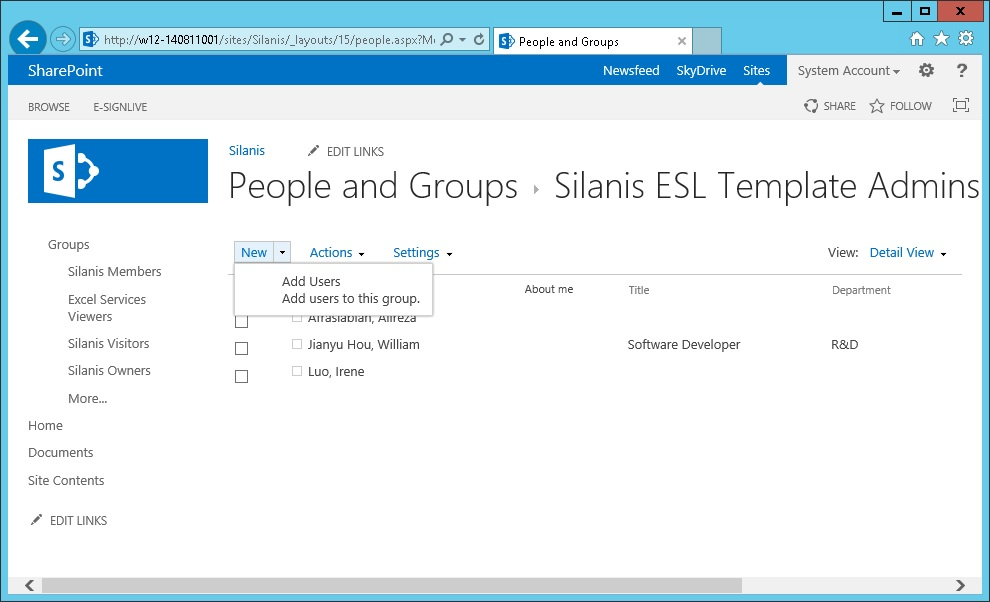
{SITE_NAME} ESL Template Admins
If a site is inheriting permissions from its parent, and the ESL feature is enabled on it, the ESL Template Admins group is created on its parent. Any user on the site who wants to be able to create a template should be added to this group. If this site is later changed to having unique permissions, a group called <Site Title> ESL Template Admins should be created manually on this site, and all template users should be added to this group.